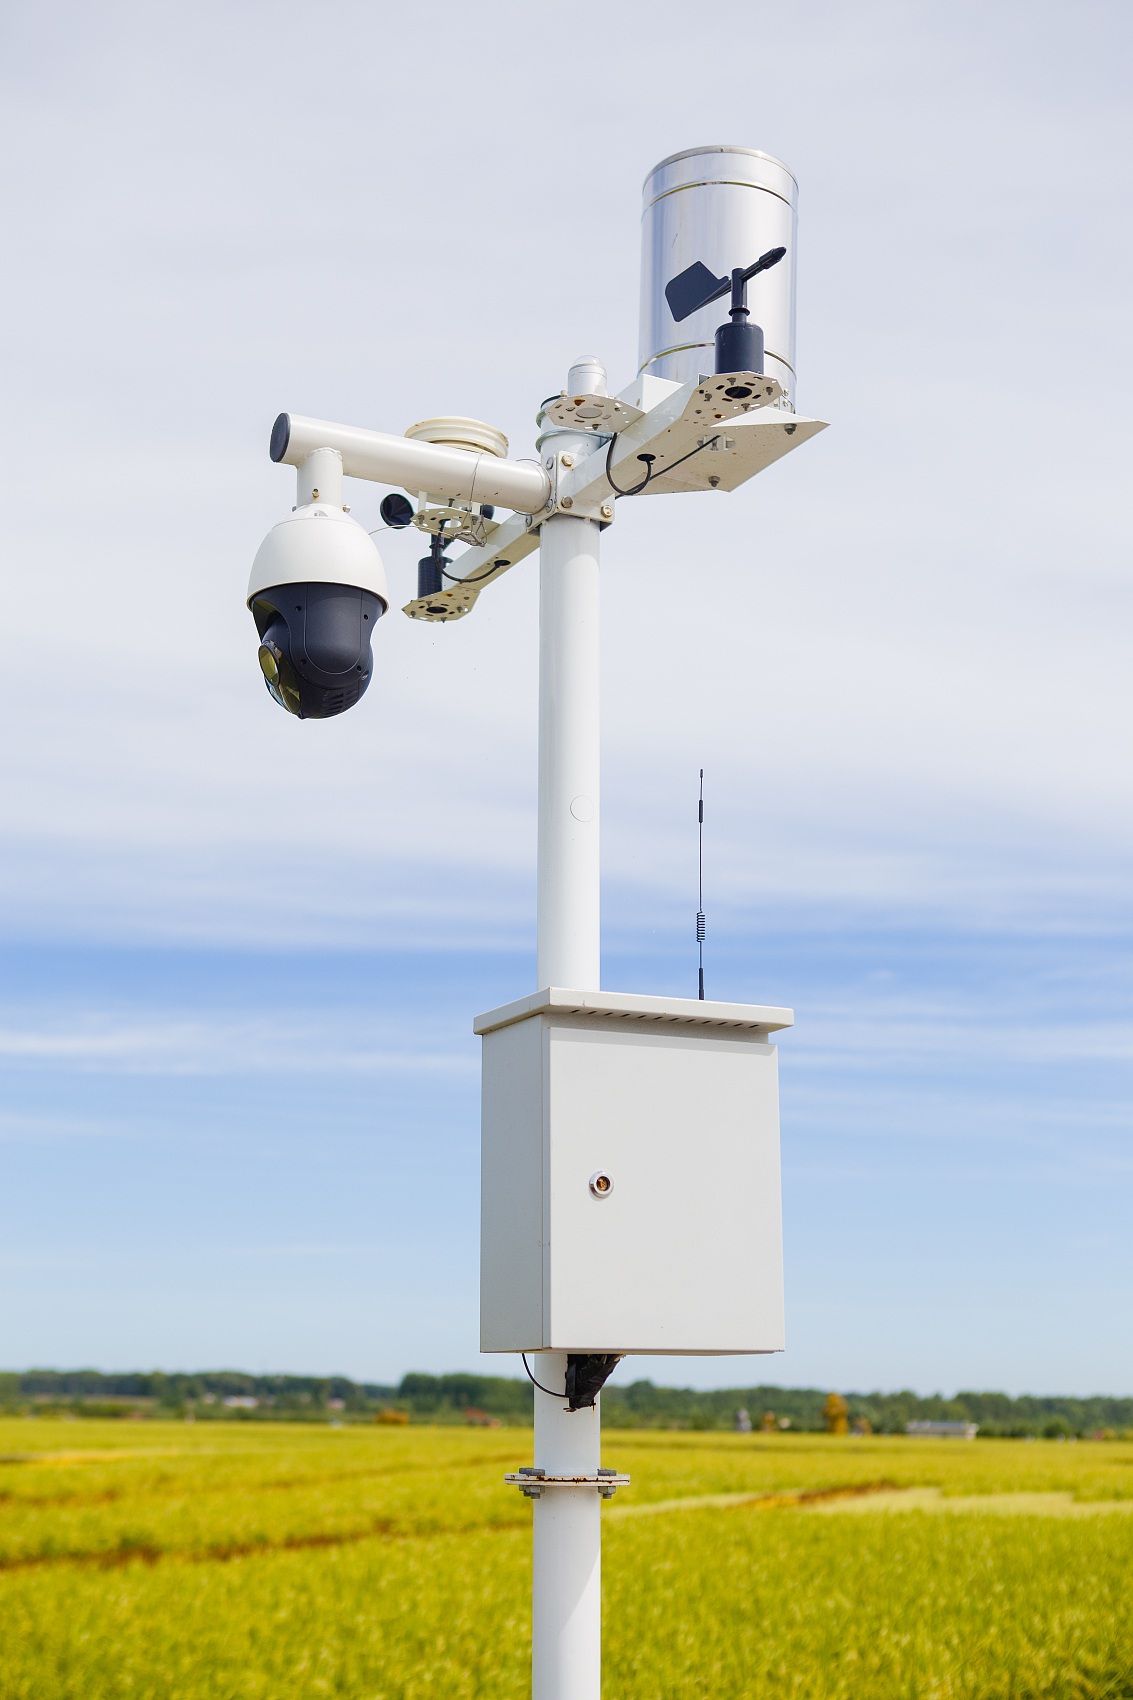
You've invested in a state-of-the-art weather station to gather precise data for your farm, business, or smart city initiative. But simply mounting it on a wall and plugging it in won't guarantee accurate results. The single most important factor for reliable data is the strategic placement of each sensor. An improperly located sensor can give you misleading information—telling you the temperature is 5°F hotter than it actually is or that there is no wind when it's blowing at 10 mph.
This guide will walk you through the essential rules of thumb for placing your Coda Sensor outdoor weather station to ensure every data point is a true reflection of your environment.

Whether you're installing a single unit or a distributed network, keep these two core goals in mind:
A Representative Reading: The goal is to measure the weather of a specific area, not the micro-environment of a single object. The sensor should be a good proxy for the general conditions of your field, rooftop, or neighborhood.
Minimal Interference: Avoid anything that could artificially influence a sensor's reading, such as heat from a building, a wind blockage from a tree, or splashed rain from a nearby roof.
The ideal location depends on what the sensor is designed to measure.
For the most accurate temperature and humidity readings, follow the World Meteorological Organization (WMO) standard.
Height: Position the sensor between 1.25 and 2 meters (4 to 6.5 feet) above the ground. This height is high enough to avoid ground-level heat and low enough to still be representative of the air that plants and people experience.
Sunlight and Shielding: Direct sunlight will cause a temperature sensor to give a false, high reading. Your Coda Sensor temperature sensor comes equipped with a radiation shield (a series of white, cone-shaped plates). This shield allows air to circulate freely around the sensor while protecting it from direct sun. Ensure the shield is clear of any obstructions.
Proximity: The sensor should be at least four times the height of any nearby object away from that object. For example, a sensor at a height of 2 meters should be at least 8 meters away from a building or a large tree. Avoid placing it near air conditioning units, vents, or paved surfaces like asphalt, which can absorb and radiate heat.
Wind sensors are often the most challenging to place correctly due to air turbulence.
Height: The standard height for wind measurement is 10 meters (33 feet) above the ground. This height places the sensor above most ground-level obstructions and provides a reading that is representative of the general wind flow.
Obstructions: Place the anemometer away from buildings, trees, and other structures that could block or distort the wind flow. A common rule is to place the sensor at a horizontal distance of 10 times the height of the nearest obstruction.
A rain gauge needs a clear, unobstructed path to the sky to accurately collect rainfall.
Height: Install the rain gauge at a height that is easy to access but still above any splashing water from the ground. Around 1 meter (3.3 feet) is a good standard.
Obstructions: The gauge should be placed in an open area, away from the drip line of trees or overhanging roofs. Avoid placing it on rooftops, where wind can cause inaccurate readings.
These sensors measure the amount of sunlight hitting the ground.
View of the Sky: The sensor must have a clear, unobstructed view of the entire sky from sunrise to sunset.
Level Placement: Mount the sensor perfectly level on a mast or pole to ensure it measures the true solar radiation.
Proper placement of a soil sensor is critical for precision agriculture. The sensor must be in an area that accurately represents the moisture and nutrient levels of the field.
Location: Install the sensor within the plant's root zone, avoiding compacted areas, dead spots, or field edges. The location should be representative of the larger irrigation zone. If you have different soil types, you should place a sensor in each zone.
Depth: The depth should be appropriate for the specific crop. A common practice is to place the sensor at the top one-third of the root zone, where water is absorbed most efficiently. For example, a tomato plant with a root zone of 60 cm (24 in) would benefit from a sensor placed at a depth of around 20 cm (8 in).
Proximity to Irrigation: If you are using drip irrigation, the sensor must be placed directly within the drip zone of an emitter to measure the water available to the plant roots. Ensure the probe is in full contact with the soil to prevent air pockets from distorting readings.
Orientation: Make sure the sensor probe is fully buried in the soil, with the sensor head above the ground to protect the electronics.
Rooftop Installation: Rooftops can be hot due to heat radiating from the surface, leading to inflated temperature readings. Wind measurements are also often distorted by rooftop turbulence.
Next to a Building or Wall: Walls absorb and release heat, creating a microclimate that doesn't reflect the general outdoor temperature. They also block wind.
Under a Porch or Overhang: This location protects the sensor from rain but also prevents it from measuring wind, sunlight, and accurate precipitation.
Near Vents or Air Conditioners: These devices expel hot or cold air, which will corrupt any temperature or humidity readings.
By following these simple guidelines, you can ensure that your Coda Sensor system provides the most accurate and valuable data possible. Proper placement is the first step toward making truly informed, data-driven decisions.
In the era of precision agriculture, the efficie
Discover how online pH sensors improve smart agr
Choosing the right online pH sensor is critical
Contact: Molly
Phone: +86-17775769236
Tel: 86-0731-85117089
Email: molly@codasensor.com
Add: Building S5, Aux Square, Yuelu District, Changsha City, Hunan Province, China
We chat